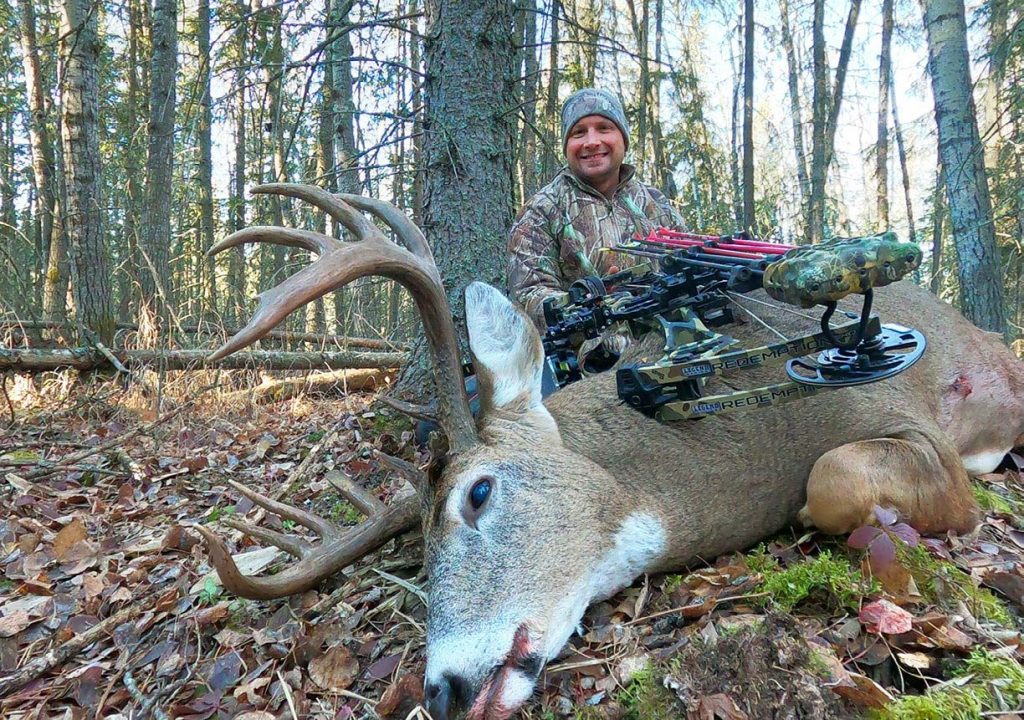
Well-placed trail cam scouting photos can help you gauge a buck’s score
The below is the official way to score your deer and is intended to inform the reader. But like everything, technology comes along and takes a process and makes it simpler. To cut to the chase, and score your deer with a mobile app, head on over to Trophy Scan and go the easy route with deer scoring.
Knowing how to score a buck involves measuring five key components of the antler rack: length, height, mass, spread, and any abnormal points. Using trail camera photos and simple reference measurements, hunters can estimate a deer’s score before deciding whether to pursue that particular trophy.
Every hunter has different standards for what constitutes an “acceptable” target deer. Rookie hunters might be satisfied with any deer, while bow hunters often target the Pope and Young minimum qualifying score. Seasoned trophy hunters typically seek bucks scoring upwards of 170 inches (the Boone and Crocket all-time net typical minimum). Regardless of your goals, understanding how to score a whitetail deer helps you make informed decisions during hunting season.
How to Score a Deer: Measuring the Five Components
Scoring a deer requires understanding the five essential measurements that make up a whitetail’s net typical score. Trail cameras have revolutionized how hunters evaluate potential trophy bucks, providing 24/7 scouting capabilities that capture deer in various positions ideal for scoring.
1. Length (Main Beam)
Length measures the total distance from where antlers begin on the head to the tip, called the main beam. When learning how to score a deer rack, always estimate using the shorter main beam since antler symmetry is factored into official scoring.
For accurate length estimation, you need photos of the buck facing the camera or looking down while sniffing the ground. These angles clearly show how far the main beam extends past the ears. A helpful reference: the distance from eyes to nose tip on a mature Western Canadian buck averages 7 inches.
2. Height (Tine Length)
Whitetail scoring requires measuring all qualifying tines (points) that sprout from the main beam. Choose the shortest tine from each matching set between left and right antlers. Use multiple trail camera photos showing the deer from different angles with its head held high.
The eye-to-nose distance (7 inches) serves as an excellent gauge for estimating tine length. Add up the shortest tine from each set to get your total height measurement.
3. Mass (Thickness)
Mass measures antler thickness at four points before each tine sprouts. This is often the most challenging aspect of how to measure deer antlers from photos. Most experienced hunters use 18 inches as a conservative baseline for mature deer, adjusting up to 3 inches for thick antlers or down for thin ones.
Be cautious with velvet bucks, as velvet makes antlers appear thicker than they actually are. Motion blur in photos can also create false impressions of mass.
4. Spread
Spread measures the widest distance between the inside of the left and right main beams. Unlike other measurements, spread only counts once in the final deer score calculation. Photos showing the buck’s ears while facing the camera work best for spread estimation. The outer distance between a deer’s eyes atop the skull measures approximately 6 inches and serves as a useful reference point.
5. Abnormal Points
Any non-typical points must be measured and their total length noted. If abnormal points exceed 15 inches total, the deer qualifies for non-typical rather than typical scoring categories.
Scoring a Deer: Expert Tips and Techniques
Trail cameras with burst modes provide the best opportunities for accurate scoring a deer since they capture multiple rapid-fire images. The Browning Spec Series and Spypoint Link Micro LTE are excellent choices that minimize motion blur and provide crisp photos essential for measurement.
Key Photo Positions for Accurate Scoring
Front-facing photos clearly show antler symmetry and tine sets. These images help confirm whether you’re looking at a 4×4, 5×5, or other configuration while showing the relationship between left and right antlers.
Side profile shots with the deer’s head up reveal how far past the nose the main beam extends. Combined with the 7-inch eye-to-nose reference, these photos provide excellent length estimates.
Looking-down positions offer unobstructed views of main beam thickness and overall antler structure. The 6-inch measurement between the outer edges of the eyes atop the skull serves as your primary gauge.
Trail Camera Advantages for Deer Scoring
Modern trail cameras provide invaluable information beyond just how to score a buck:
- Herd population and age classes
- Movement frequency patterns
- Buck-to-doe ratios
- Seasonal antler development
- Genetic quality assessment
Final Score Calculation
To calculate your estimated net typical score:
- Add Length + Height + Mass
- Double that total (accounting for both antlers)
- Add Spread
- Subtract abnormal points (or add if over 15 inches for non-typical)
Remember that whitetail scoring from trail camera photos provides estimates, not official measurements. Professional scoring requires hands-on measurement after a 60-day drying period. However, trail camera scoring helps hunters make informed decisions about which bucks to target during their limited hunting time.
Score represents just one aspect of a successful hunt. The effort, hunting method, determination, and overall experience contribute far more to creating memorable hunts than numbers alone.
Whether you’re a beginner learning the basics of how to measure deer or an experienced hunter fine-tuning your estimation skills, trail cameras provide an excellent tool for pre-season buck evaluation. This knowledge helps you set realistic goals and make the most of your time in the field pursuing that trophy of a lifetime.
Product Mentions

