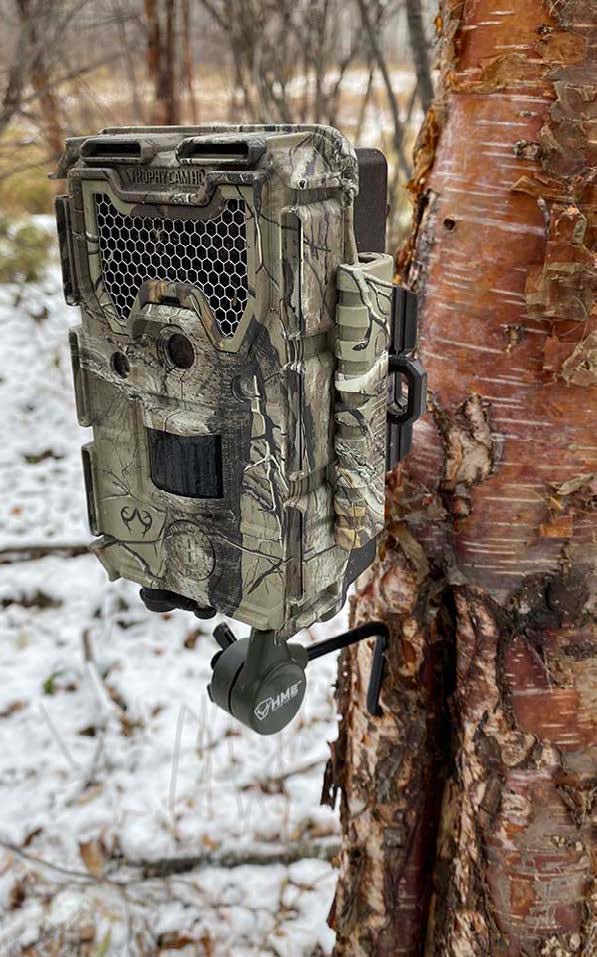
It’s mid-winter. Fall hunting seasons are in the rear-view mirror and most deer hunters are now either in shed hunting mode, chasing predators, or anticipating spring opportunities. In my world, there’s no better time to check, collect, service and consider adding to my inventory of trail cameras.
For a long time, I ran cameras on the deer properties that I hunt only during peak periods from mid-August through to the end of November. Whether I leave them out year-round depends on the type of intel I’m looking to collect. Essentially, if I want to know whether particular bucks made it through the gauntlet of hunting season, or if I want to see when the bucks are losing antlers, cameras provide that information brilliantly.
Mostly though, my priority now involves a bigger picture: learning which animals live in the areas where I hunt and which ones are transient visitors during the rut. The problem now is that my camera inventory has become so extensive that it’s hard for me to keep track of them all—let alone effectively manage them. Talking with other hunters, I know I’m not alone. In fact, this seems to be a common problem. In turn, I’ve developed a handful of key strategies for managing my cams. Following are a few tips that will help you manage your own.
Record Every Location
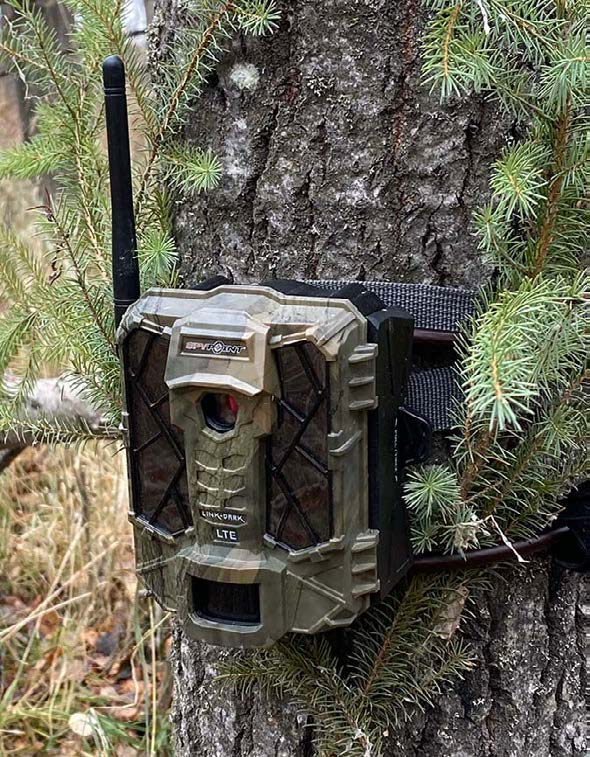
Forgetting about where you’ve placed cameras, and in turn losing them can be a problem. I’ve lost count of the number of times I’ve stumbled on trail cameras that I’d totally forgotten I had placed. It used to be that I’d find at least two cameras every year that I had either forgotten about or just couldn’t remember where I’d placed them. Similarly, I would often move them a short distance on the same property and sometimes forgot about them, thinking I’d removed them altogether.
I know I’m not alone. In fact, I’ve heard the same story from several hunting buddies. Like a kid at Christmas, one recounted, “You know it’s a good day when you find a camera you’d totally forgotten about!”
Indeed, as more of us employ trail cameras and we add more to our inventories, it gets tougher to keep track of them all. Importantly, we are responsible for respecting the landowners whose ground we hunt. We do that first by making sure they are okay with us putting up cameras. And in another step, we do so again by either removing those cameras after the season or at least seeking permission to leave them out for extended periods of time. Ultimately, a critical part of that whole equation involves keeping close track of each camera’s location.
I have several locations where I like to leave my own cams up all year. That’s why keeping accurate records of where each is located is vital to my own trail cam management process. So, how do I do this? The most practical tools I’ve found are apps like iHunter (for locations in Canada), HuntStand (for locations in the U.S.A.) and product-specific apps such as Moultrie Mobile Wireless.
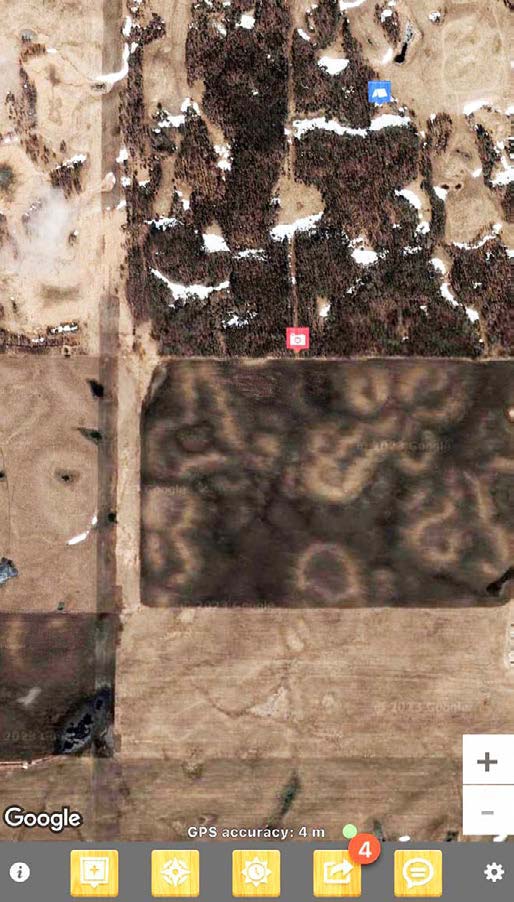
If you have a cell phone, these apps are simple to load and easy to use. They serve a multitude of functions. One of them involves the ability to mark GPS locations with a variety of labels. For example, every time I set up a trail camera, I take a picture of it. When I create a waypoint, my iHunter app allows me to title it, enter a description of the location, and add a photo. The photo allows me to identify which make and model camera it is. The descriptors allow me to record that information, along with the landowner’s name or a Legal Land Description (LLD). For future reference, I simply open the app, scroll, and pinpoint the whereabouts of my cameras.
Power Sources
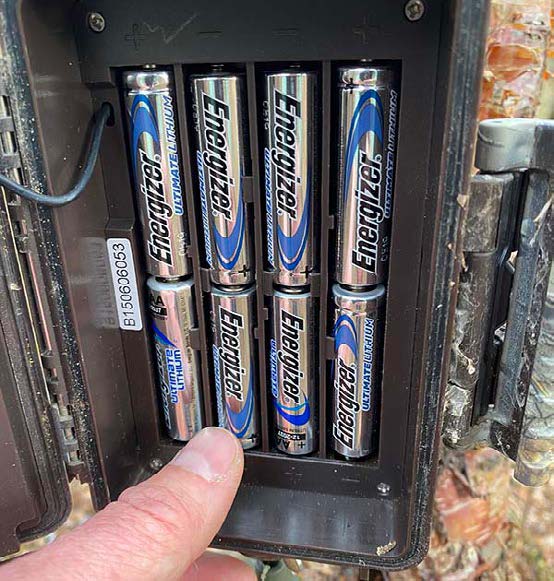
Trail cams serve as our eyes in the field when we can’t be there. Nothing is worse than going to check a camera only to find that the batteries are dead. Equally frustrating is when wireless cameras send notices that the batteries are nearly depleted, and you can’t get there to replace them for a few days. I have one camera that actually flashes a red light when the batteries are low. (I’m not sure why any manufacturer would build this function in, but they did.)
If you run trail cameras, you know the feeling. For many years now, I’ve used the best lithium batteries I can find in my cameras. I recently pulled cards from cameras that I hadn’t checked for the last 11 months. I was impressed to find all but one of them were still running strong. Alkaline batteries generally work, but they last only a fraction of that time, especially in sub-zero temperatures.
Alternative solar power sources are a great option as well. A number of cameras, like the Spypoint Link-S, Solar-Dark and Link-Micro-S-LTE have built-in solar power options. They cost a bit more at the outset, but it’s well worth the expenditure considering the price of lithium or even alkaline batteries. After all, most cameras need eight, 10, or even 12 AA batteries to make them work. I have a few that run on six, but they’re an anomaly.
Memory Card Maintenance
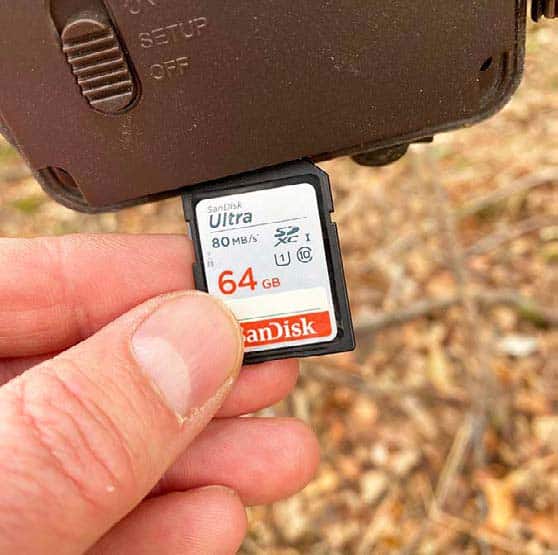
Two common problems with camera maintenance involve not having enough cards on hand to switch them out when you need to, and using memory cards that are too small. Once the memory cards are full, that’s it. This can be a big problem, especially in the early season, when the movement of grass and leaves makes cards fill up quickly—many times even before they can capture any animal movement.
As a rule, I buy at least two cards for each camera I run. For cameras requiring cards to be formatted with manufacturer-specific firmware, take special note of that and label and store them accordingly. Spypoint is one company I know that requires this for some of its camera models.
It doesn’t matter whether your camera still has power if it can’t capture and store any more data. These days, I prefer to set most of my cameras on either the video or hybrid (photo and video) setting. Video always requires more storage capacity. Hybrid settings require even more. While you can sometimes get by with 4 GB cards, I typically run a minimum 16 GB card and I usually prefer a 32 GB. Many cameras can only handle up to a 32 GB card, so be sure to check your camera’s specifications before investing in higher-capacity cards.
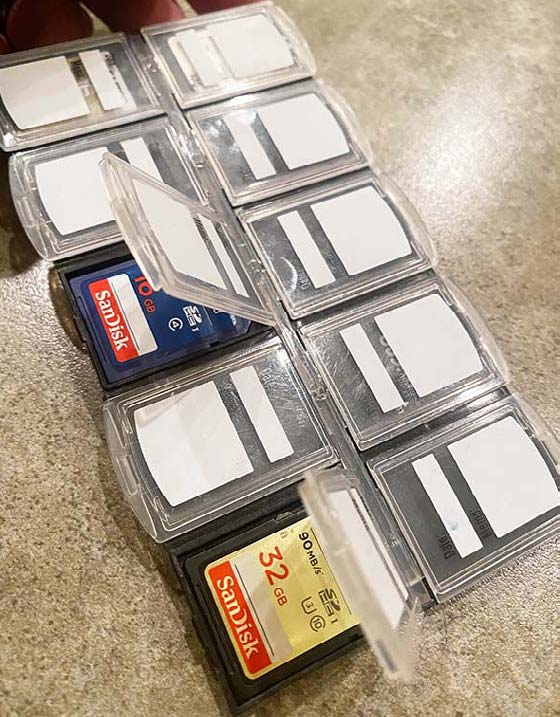
Image and Video Storage
During open hunting seasons, I check my cards regularly. But keep in mind that there’s a fine line between checking them too often and too little. If you visit and handle your camera locations too often you may be disrupting deer movement. You’re also leaving scent everywhere. Yes, you may spray down, wear rubber boots, and even use latex gloves when handling your cameras, but you’ll never eliminate all of your human odor. Ultimately, you’ll have to determine the sweet spot in terms of checking often enough, but still minimizing your impact.
During open deer seasons and depending on locations, I usually try to switch out cards from non-wireless cams every few days. During the summer months and after seasons close, I’ll leave them for months at a time.
As far as my checking routine goes, every time I go in to check a camera, I try to avoid walking on deer trails directly and minimize my time near those cameras. I switch out the card for a newly formatted one and exit the same way as quickly as possible.
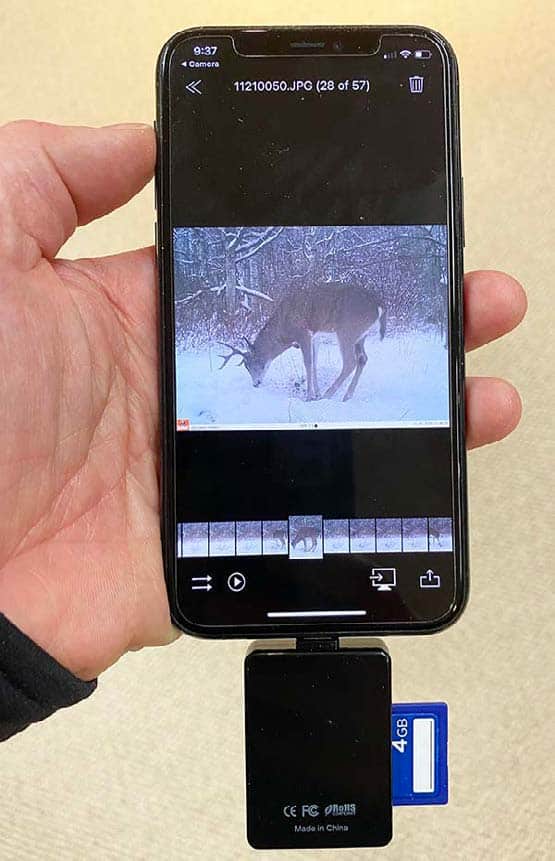
There are times when I will use a portable card reader and view the images right there on my phone. My Stealth Cam card reader pairs with an app so that I can plug the card in and quickly check the photos on my mobile phone on-site. Then I can reinstall the same card.
Ultimately though, I find it more beneficial to switch the cards out so I can take them home and analyze the images properly, paying close attention to the date, time and direction of travel of each deer. Back home, I review and delete all irrelevant files and file the ones I want for future reference, i.e., bucks, does and other animals of interest. I then transfer them to a hard drive and file them by year, month and location. Once they’re transferred, I reformat the card and immediately insert it into a card storage case. (More on these cases shortly.)
This process allows me to file images and videos captured from year to year. By revisiting these files, I can easily identify trends in movement, specific animals that I see repeatedly, and most importantly, identify target animals.
Transporting SD Cards
There’s nothing worse than putting a card in your pocket and either forgetting about it or simply losing it. To ensure that I keep full and empty cards separated and organized, I find plastic card storage cases to be particularly helpful. They are ideal for protecting the cards during transport. I like to use the memory card organizer made by Pioneer Photo Albums, Inc. These have 10 separate compartments for individual cards. Each compartment can be labeled, and all snap closed for protection. With the system I use, I’m able to organize each card to avoid accidentally reinstalling a card that’s full already.
WiFi Plans
Setting most of these issues aside, wireless cameras are revolutionizing the way many of us use and manage our cams and data. While service plans vary in cost, most WiFi cams allow us to customize settings, monitor battery power status, receive photos quickly and file or forward valuable images instantly.
With more and more of us using cellular trail cams, managing those plans is important. If you fail to subscribe to the right plan, you can end up limiting data capacity or unnecessarily spending too much money. Similarly, most companies offer options that allow the user to either pay by the month, purchase a three-month bundle, or commit to a one-year subscription. I generally don’t run my wireless cams year-round, so I favor activating the three-month bundle for use during hunting seasons. This seems to be the most economical option. What’s key for me is to cancel or suspend my WiFi plans immediately by mid-December when our local seasons close.
Trail cameras are becoming standard tools and the new normal for many hunters today. Keeping them organized and operational and then strategically storing the data can be a challenge. But if you figure out a system that works for you, it can be one of your biggest assets in helping you close a tag.
Per our affiliate disclosure, we may earn revenue from the products available on this page. To learn more about how we test gear, click here.


