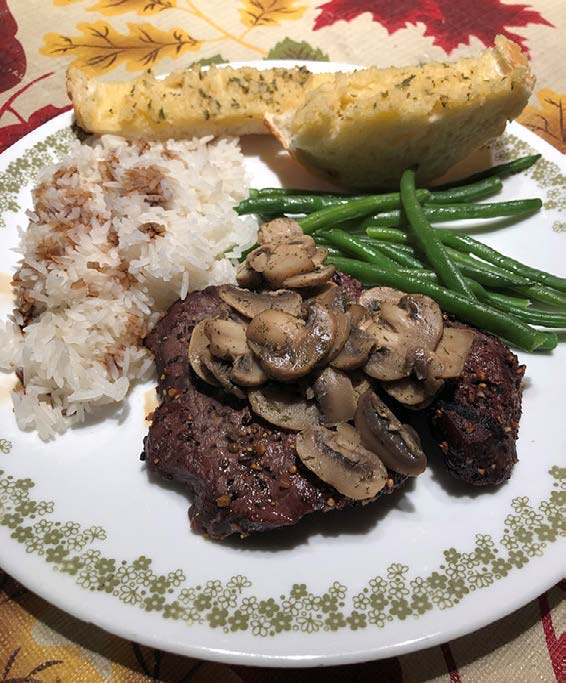
The Key To Tasty Venison
When I hear someone say their venison tastes bad, wild, or gamey, I will often start a conversation with them to find out more about why their taste buds find the venison offensive.
Within short order, it becomes clear that they delayed or neglected important field-dressing tasks after their deer, antelope, moose, or elk was harvested, resulting in poor-tasting wild game meat.
Just as an abattoir processes beef or pork, it’s imperative for hunters to field dress, skin, hang, and cool their big game animals in a quick, clean, orderly fashion. Doing so helps them enjoy great-tasting venison, and not taking those steps can compromise the taste of their harvested game. Thankfully, the steps to ensuring fine- quality table fare are not overly difficult. My experience has proven that they are time-sensitive, though, and the faster they are performed, the better the meat will taste.
Tagged Out
As soon as an animal dies, its body will start to spoil, and bacteria will start to grow. The warmer the weather, the faster the spoiling process. It’s this spoiling process and bacterial growth that can instill bad flavors in the meat. If left unchecked, they can eventually fully ruin the meat. If contents from internal organs come in contact with the meat, bacteria can start to develop. That can lead to further spoiling and foul taste. Additionally, any areas around bone fragments, damaged meat, or entrance/exit holes will often spoil more quickly.
Most meat processing plants store and age meat at temperatures slightly below 40˚F. Studies have proven that bacteria will not grow at temperatures below 40˚F. However, it’s important to note that although the bacteria will not grow in cooler temperatures, those cool temperatures will still not kill bacteria. Basically, 40˚F is a magic number.
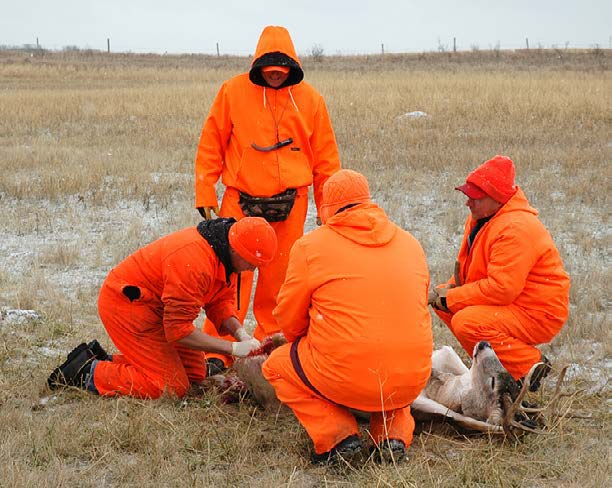
Once an animal is down, it’s decision time. If the temperature is above 40˚F, meat spoilage is a probability. The higher the temperature, the greater those odds are and the faster the spoilage timeframe. That’s when time is of the essence. So, you may want to take only a couple of field photos, then get to work on your animal as soon as possible. If you need to obtain field-dressing gear or help from hunting buddies, you may need to drag your harvest to a shadier or cooler area, such as near a creek or into a valley. If the animal is a moose or elk, and too big for you to move by yourself, you should make the initial field-dressing cuts just to open the chest cavity so the cooling process can begin while you go get help or gear.
If the temperature is below 40˚F, your animal still needs to be field dressed and skinned so its natural body heat starts to cool. If you wait too long to do this, the carcass can overheat because of the internal spoiling process, and can begin to bloat and spoil.
Some How-To’s
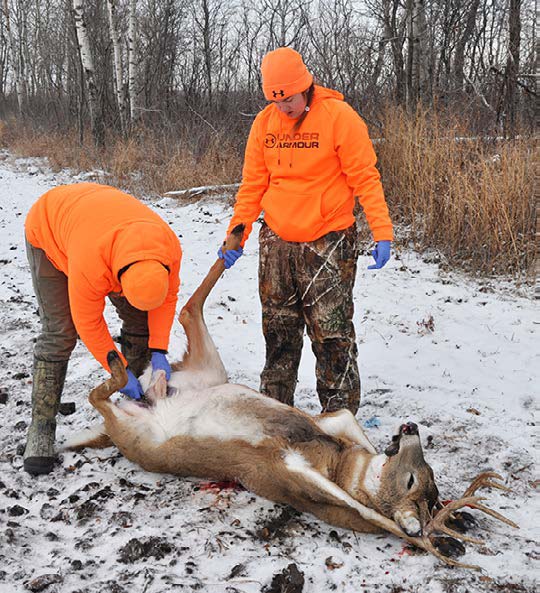
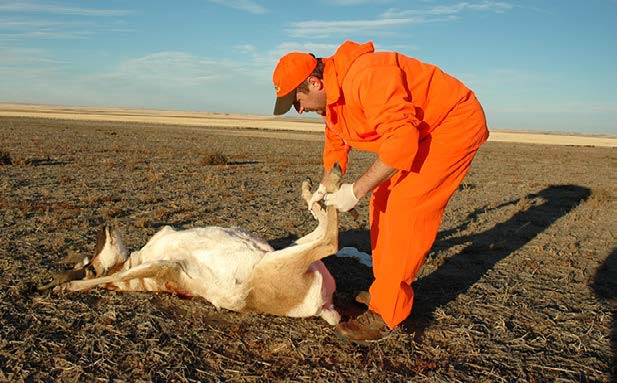
When gutting an animal, always start with clean tools to reduce the potential transfer of bacteria to the meat. If you’re with a hunting partner, have the other person hold the animal’s legs to gain more space to work. If you’re by yourself, you can tie the animal’s leg (or two) to a tree or truck bumper. When field dressing a buck or bull, one trick is to tuck the front legs up under the antlers. This opens the chest area and results in the animal resting on its back. While it may look odd, it sure works well.
When opening the carcass, be careful not to cut open the stomach or intestines, because this can spew those unwanted contents onto the meat. Make a small incision into the body cavity near the lower belly and then wiggle your index and middle finger into the cut. Once your fingers are inside, lift the hide and skin, then run the tip of your knife between your fingers and upwards against the hide to open up the animal. A knife with a gut hook is perfect for this task. My go-to gut hook is the Outdoor Edge Zip Blade. Over the past two years, my kids and I have field-dressed 13 animals using this tool and have not had any mishaps. As a bonus, the Zip Blade cuts from the inside out, reducing hair on the meat. It also can be used to open skinning lines on the legs and to make incision lines when caping an animal for a head mount.
When field-dressing your animal, make sure to fully remove all the internal organs. To do so, you will need to reach way up into the body cavity to remove all the lung, heart, and as much of the esophagus as possible.
Skinning Time
Once the animal is gutted, many hunters like to put it into the back of the truck and continue hunting with their buddies for the day or the duration of their trip, with plans to skin the animal when they get home. While there’s some belief that the hide will protect the meat and keep dust off it, I have learned that the hide will trap heat, which can allow flavor-stealing bacteria to form. For us, when an animal is harvested, we quit hunting for the day and take the time to skin the animal to preserve the flavor. Even if an animal is harvested at the end of the day, we still skin it in the dark rather than wait until morning to perform the task. While skinning an animal immediately helps to preserve flavor, there is an added bonus. It is way easier and faster to skin the animal right away than wait until later when the animal has stiffened, and the hide has “bonded” to the meat.
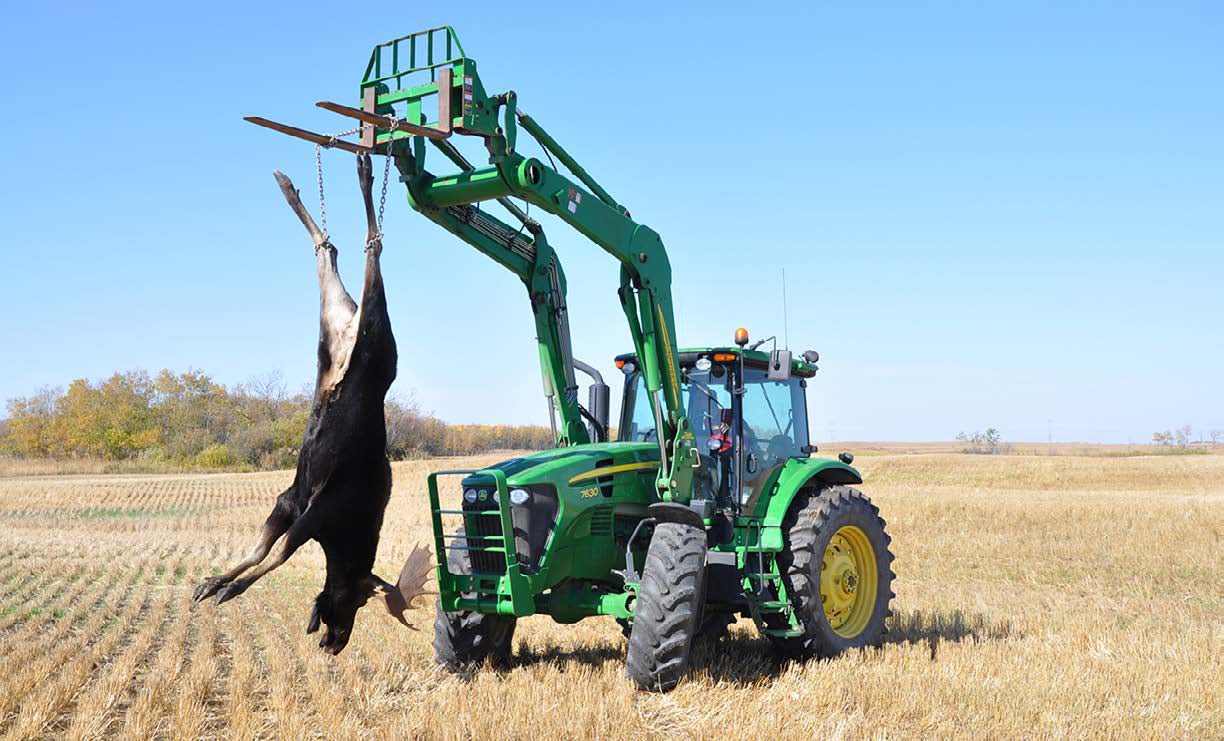
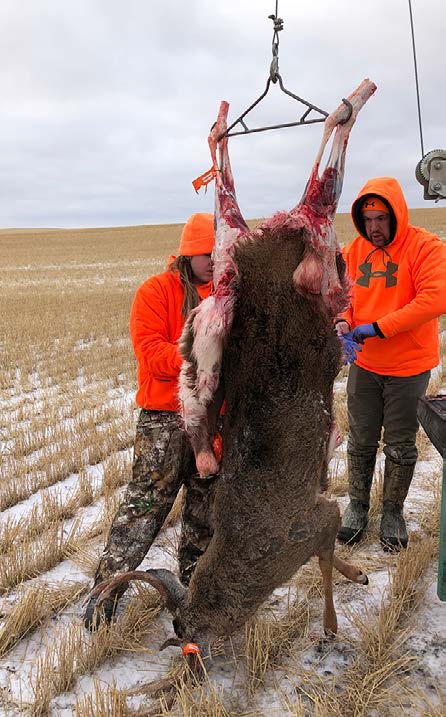
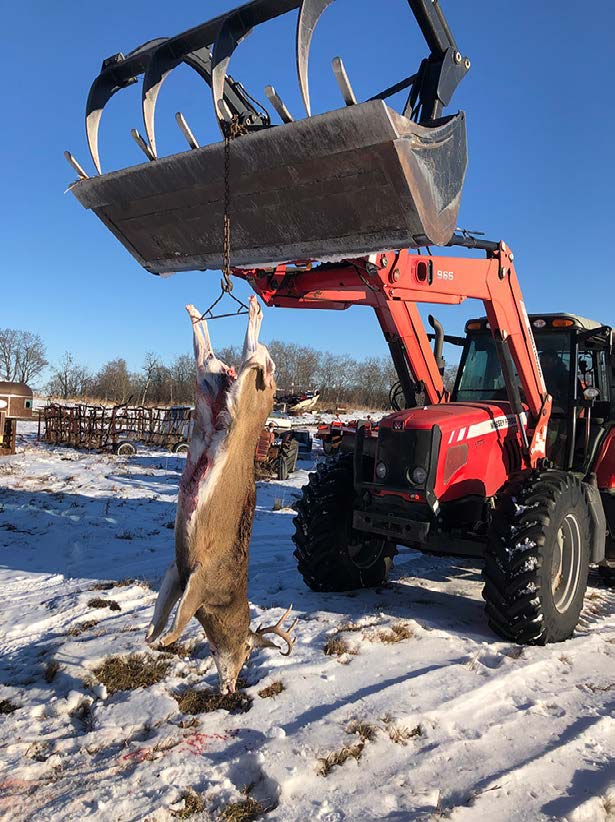
To make it easier to skin animals afield, I carry a skinning pole that connects to the trailer hitch receiver of my truck. This setup makes it easy to skin an animal in the field. On some lucky occasions, I’ve had a landowner friend lift a game animal with a tractor to make it even an easier process.
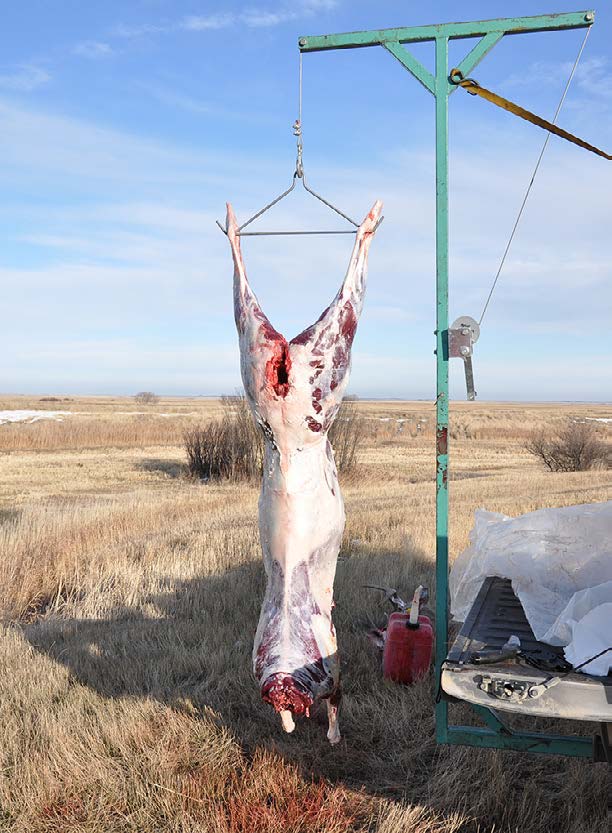
During the skinning process, be aware that the animal’s tarsal glands are located on the inside of the animal’s back legs. Because deer urinate on these glands as a form of communication, they can be full of bacteria. So, don’t touch them with your hands and then touch other parts of the deer. Always try to skin right under them without your knife cutting through them or touching them as well, in order to keep bacteria and tarsal gland “flavors” off your knife and meat.
The neck of a big game animal is very thick and dense. It is one of the last places to cool off and can quickly go rancid, especially in warm weather. Therefore, it’s imperative to open up this area so it can cool quickly. Once the animal is skinned, cut open the back of the neck, cutting at the spine from the middle of the shoulders to where the head was removed. Always remember to cut open the throat area and remove the remaining section of the esophagus, too.
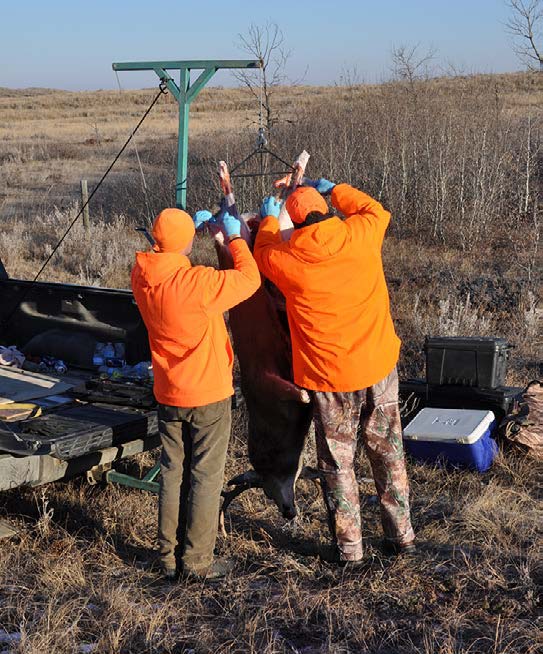
If the rib cage wasn’t split during the field-dressing process, split the chest cavity after skinning to further open the carcass. At the same time, look for any bullet- damaged meat or any contaminated areas that may have occurred during field dressing. If you find any damage, either cut it off or wash it clean with cold water and a rag. As a final step, remove any stay hairs from the carcass.
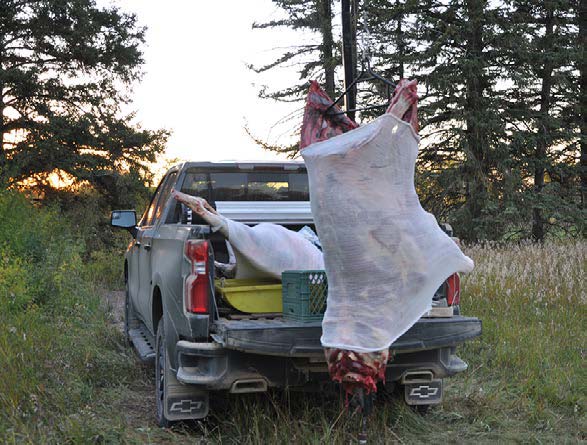
Once the animal is skinned, cleaned, and trimmed, wrap it with a breathable cover to keep dirt and bugs away. Never wrap a warm deer in plastic because plastic will trap the body heat and spoil the meat. Instead, breathable material will allow the carcass to cool and keep the meat clean. Most butcher shops sell cheesecloth which does the trick. I often use Koola Buck Anti-Microbial Bags. They not only protect the meat from dust, but they also have a special coating to protect the meat from bugs and bacterial growth.
Once the carcass has been skinned and wrapped, I often let it hang in the fresh air while suspended by the skinning pole before putting it into my truck. It’s amazing how quickly the carcass can cool while hanging for even a few minutes, especially if there is any wind. In addition, once the carcass is loaded into my truck, I leave the box cover open to allow further cooling.
If the weather is hot, stuffing bags of ice into the carcass will also help cool the meat and protect it until you get to a locker plant or a cooler place. Another option is to halve or quarter the animal to create smaller chunks of meat. These will cool faster than one bigger piece of meat.
Although many hunters like to hang their animals in the garage and do all the butchering themselves, warm weather above 40˚F can cause problems for that process. Unless the animal will be processed that same day, it’s best to get the carcass to a butcher shop that has a cooler, so it can be aged at a temperature that prevents spoilage. Some shops will just hang the carcass. Others will hang the carcass only if they get to do the butchering. Make sure you know what the arrangements are before leaving your animal at a locker plant.
Tools of the Trade
I always use surgical gloves while working on my animals. They keep my hands clean and protect the meat from my dirty hands. I’ll often wear one pair for gutting and another pair for skinning.
Although it’s possible to field dress and skin an animal with a single knife, I have discovered that carrying a few different tools makes the task easier, quicker, and cleaner. A gut hook is perfect for opening the animal. A sharp drop-point knife, whether a folder or a fixed- blade, is great for finishing field dressing so the entrails can be removed. While the same knife that was used to gut your animal can be used to skin it, I prefer using a second knife. That blade will be clean and won’t have potential exposure to any internal organ matter.
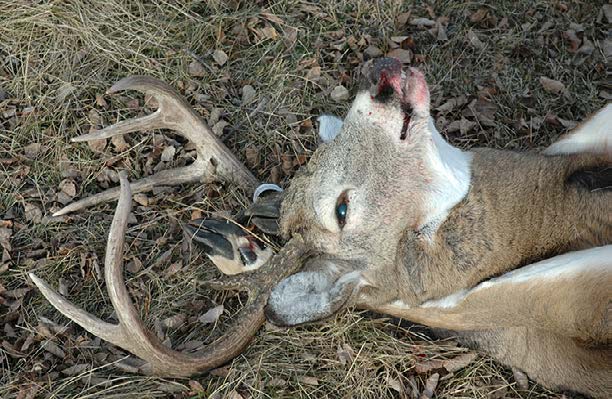
A bone saw comes in handy to cut the legs and neck from the carcass and to open the rib cage. On pack-in hunts, I carry a folding bone saw, but on hunts where I can get my truck relatively close to the harvest sight, I use a cordless Milwaukee Sawzall (reciprocating saw) with a Diablo 6” Bi-Metal Demolition Blade. While the power tool is almost overkill on an antelope or small-bodied deer, it is a muscle-, back-, and time-saver on moose and elk.
After using your tools, always wash them with soap and hot water so they are clean and ready for your next animal. Once washed, resharpen the blades if using regular knives or, when using knives with interchangeable blades, check to see if the blades need replacing. If hunting in areas where CWD is a possibility, I like to use separate tools for each animal until I can sterilize my tools. To sterilize them, I first wash them in soap and water, then wipe them down. Next, I put them into a glass tray and cover them with a 50/50 mix of bleach and water for half an hour. Once soaked, I rinse them with clean water, then dry them so they are ready for action.
The next time you harvest a big-game animal, try getting it cleaned up and cooled off as soon as possible. The reward for your efforts will be some prime-tasting wild game meat.
GEAR LIST
First Cut Knife to open the animal
Outdoor Edge ZipBlade. It’s easy to use and prevents cutting internal organs, as it cuts from the inside out.
Gutting Knife
Outdoor Edge RazorMax. This is rugged and durable, with a gripped, non-slip handle.
Skinning Knife
Outdoor Edge Razor Lite EDC. This folder is small and easy to carry and features changeable blades that are razor-sharp.
Reciprocating Saw
Milwaukee M18 Fuel Sawzal. This is super-durable and has a long-lasting battery, even in below-zero temperatures.
Saw Blades
Diablo 6” Bi Metal Demolition Blades. They get the job done quickly and cleanly.
Folding Saw
Husqvarna Foldable Saw. This is a model that is lightweight and very durable.
Game Bags
KoolaBuck Anti-Microbial Bags. Their special coating helps protect meat from bugs and bacteria.
Skinning Pole
This homemade skinning pole slips onto the receiver end of a truck hitch.
Clean Hands
Surgical gloves keep hands/clothes clean and protect the meat. Hunters Specialties offers a combo pack with six pairs of wrist-length gloves for skinning and six pair of shoulder- length gloves for field dressing. (When wearing rubber gloves afield, always take your used gloves out of the field.)
Per our affiliate disclosure, we may earn revenue from the products available on this page.


