With the growing popularity of hunting shows and Youtube channels, it’s not only common, but it’s easier than ever to video our hunting adventures. Even still, if you’ve tried to capture your own hunts, you know it’s not as easy as it looks. Here are some of the finer points that will help you get the job done.
Most of us are either already videoing our hunt, or at have at least contemplated documenting them. With the advent of outdoor television several decades ago and the growing popularity of hunting shows and Youtube channels, not to mention lightweight affordable equipment, it’s easier than ever. Videoing our deer hunts is more than a passing fad; it has literally taken on a life of its own and, by all appearances, it is here to stay. A lot of us are doing it – some just for fun, and others for broadcast. Filming and editing used to be a complicated and costly proposition, but thanks to today’s technology, high-end consumer and professional options are both accessible and affordable. Truth is, hunters and anglers have been recording their adventures since the advent of reel-toreel cameras, but with the evolution of camcorders and the plethora of portable high-definition professional, and now point of view (POV) cams and digital single lens reflex (DSLR) cameras with video capabilities, more of us than ever before are using this equipment in the field and on the water. A word of caution though; even with the great equipment, capturing quality video can be more difficult than it looks. Consider these basics steps, and you’re sure to end up with some great footage.
Cameras & Accessories
Before choosing a camera, consider your purpose (i.e., personal or professional). Brand selection is a personal choice. Essentially, SDHC or Compact Flash cards are used in most of today’s camcorders and mini SD cards are used in the POV cams. Secondary, but also important is the digital file format in which the camera records (e.g., MXF, MPEG, AVI, or others). Some are more technical to translate, upload and edit. Be sure to research this before making your decision. Some formats can only be read by high-end editing software, so there may be cost implications.
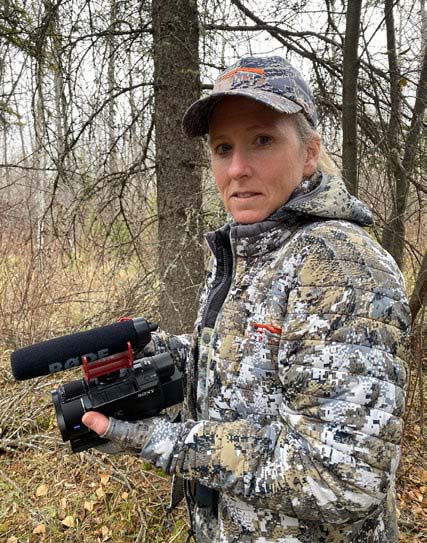
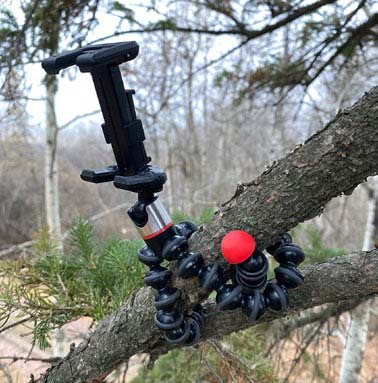
Many of the micro-sized camcorders and POV cams, like the popular Go Pros and Tactacams, are delivering amazing image quality, and a lot of folks are now filming with the DSLR cameras. While these products have limitations, they are small and adaptable, which means they can be mounted on equipment like rifles, rods, boats, trees, under water, and other places to provide unique video angles. Watch today’s outdoor television shows and many of them incorporate clips that can only be captured by a POV camera. Drones, for instance, are great for captures perspective shots – but be sure to check and comply with rules and regulations for operating these in your area.
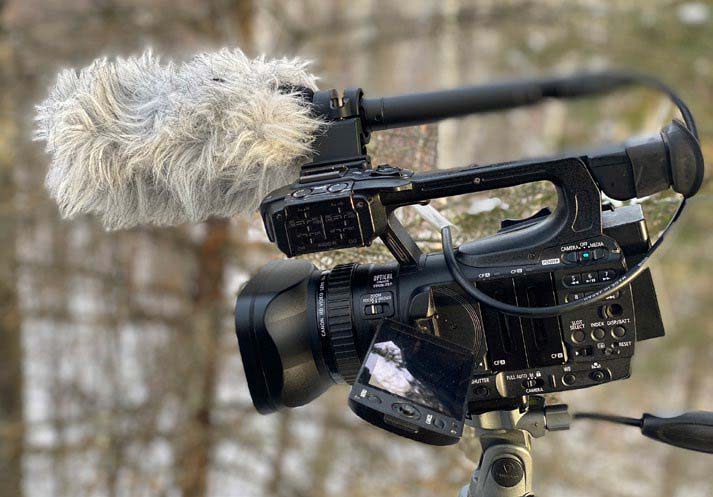
Aside from cameras, you’ll need to consider tripods, monopods, and tree arms. Nothing is more annoying to watch than shaky video footage, so a fluid head that allows you to swivel and move with the deer you’re filming is critical. If you plan on having a dedicated camera-person capturing the footage, then great, but a lot of us hunt solo and that means we need to have a way to mount the camera to capture the footage while we do our thing. I am a big fan of Manfrotto tripods and fluid heads, but I also like the Vanguard fluid heads as well. After some experimentation, the Muddy tree arms tend to perform best for me. Experimenting with different options, I now run a Canon XF100, and a 4K Sony FDR-AX53. The Canon is more robust with more custom features, and the Sony is more lightweight and considerably more portable. For POV cameras, I tend to favor the GoPro Hero 8 Black, mostly because of the sound and quality of the image, but Tactacams are really hard to beat for adaptability and functionality.
Learn to Use Your Equipment
Once your equipment is in hand, the most important thing you can do before attempting to film your hunts, is learn the settings and functions available on your camera. Working in full auto mode will usually deliver decent image quality however problems can arise with extraordinary conditions like low, harsh, or fluorescent light. ND filters help soften harsh light and zebra lines can be set to assist with iris and shutter exposures. The gain setting is also important. In full auto mode, video cameras will open the iris to allow as much light in as is necessary to capture the video. Unfortunately, this can create a pixilated image under low-light conditions. Experienced videographers know that good ‘natural’ filming light is usually not available until sunrise and continues only until sunset (give or take 15 minutes based on available sunlight). On my cameras for instance, I set the gain to maximize image quality. While I am able to see when I have good light to film simply by looking at the monitor, this invariably robs me of precious minutes at dawn and dusk. In low light or dark situations, it can be better to use a fill light or infrared setting.
Skilled videographers will sometimes use autofocus, but they also switch to manual focus when necessary to ensure that the camera lens captures the desired subject as opposed to something else in the frame. A good example is when you are filming a buck moving through trees and the autofocus wants to hone in on the nearby branches putting the deer itself out of focus. By manually focusing on the deer, you keep the desired target crisp and the branches blurred.
One of the first and most important settings to consider is white balance. White balancing your camera to the light conditions effectively color corrects how your camera is reading the conditions and the colors of the image.
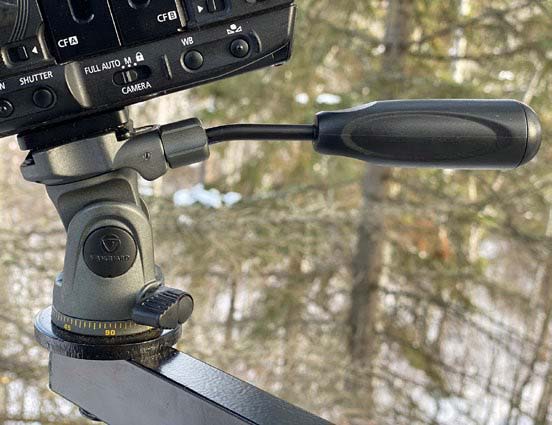
ground in a blind or from a tree stand a fluid head is important to ensure that your shots are
smooth as you move the camera
Another important setting is the actual format. For example, broadcast productions today (e.g., for most of today’s hunting and fishing television networks), are optimized in 1920×1080 and at a 30P frame rate. Likewise, you’ll want to choose either HD or 4K settings depending on your end goal for viewing or broadcast.
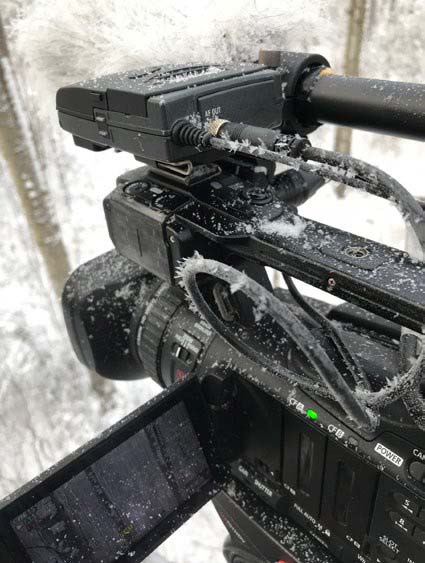
Inherent microphones can work well under ideal conditions, but checking and adjusting audio levels is imperative. Some videographers like to wear a headset so that they can monitor audio levels and quality. Audio levels should be tested and set according to your subject. In many situations, an external shotgun mic is advantageous. Adding a noise dampening layer (dead cat) can help minimize wind noise but for professional sound, quality cordless lapel mics are best.
Capturing Video
The more footage you capture and review, the more proficient you will become with your camera. Deer can be challenging to film, particularly given their general awareness. Unless you are in a blind, in close proximity, it’s tough to get away with any movement. Before hitting the record button, think about your goal. Remember, viewers will find it more interesting if it tells a story or provides instruction. Consider creating a storyboard complete with an introduction and conclusion.
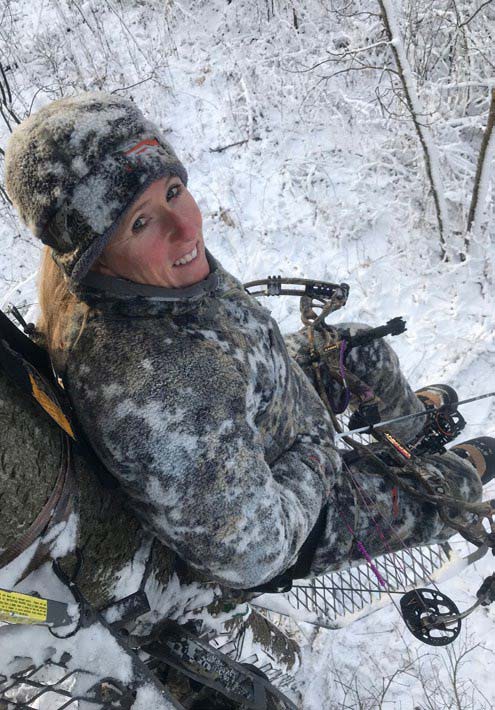
Many of us focus solely on getting the kill shot and we forget to capture the essence of the hunt. The supporting footage we often forget is referred to as ‘B-roll’. Ironically, it is this footage that really tells the story from start to finish and makes a deer hunting video interesting.
Consider adding dimension and variety to your footage. Panning scenery, zooming in and out, capturing time-lapses of scenes that morph over time, i.e., things like close-ups of a buck’s face and antlers, and unique behavior like rubbing antlers on a tree, working a scrape, facial expressions when a hunter walks up to their animal, and so on. Raw emotion is telling and always appreciated by viewers.
As you compose each clip, think about what you want the end product to look like, your message, who it is for, and especially the details that viewers would find interesting and relatable. A good way to look at developing any storyboard for a deer hunt involves doing an introduction. Think about communicating the five “w’s”. Talk about the who, what, where, when, and why. Then transition into capturing what you did to prepare for the hunt. Things like placing and checking trail cameras, even including some of your trail cam still shots or video clips can be interesting for viewers. Video shots in the dark, moving to and from stand locations, climbing trees, and even placing or moving stands are all interesting. Capture clips of does, fawns, other wildlife as well – these are often things we take for granted but they are important elements of any deer hunt. Remember to tell the story. Let viewers know what’s happening by including clips with verbal explanations. Close-ups of your face and variable shot angles are likewise good to add variety to your finished product. The money shot is a clear, well-centered video of the arrow or bullet striking the kill zone. If you’re able to follow the deer as it runs off, that’s even better. Then, of course, the immediate emotional response of the hunter is critical, followed by all of the little things that go into decisions, waiting, and tracking your deer. Capture it all. Sometimes longer clips are necessary, but try to keep most clips under 10 seconds in length. Remember, viewers like movement and transition to help keep them engaged. Finally, every viewer wants to see the end result. Video closeups of the antlers and face, hooves and body. Few people want to watch a talking head for more than a few seconds. Be sure to narrate and recap the hunt while you do this. Keep it short, to the point, and interesting.
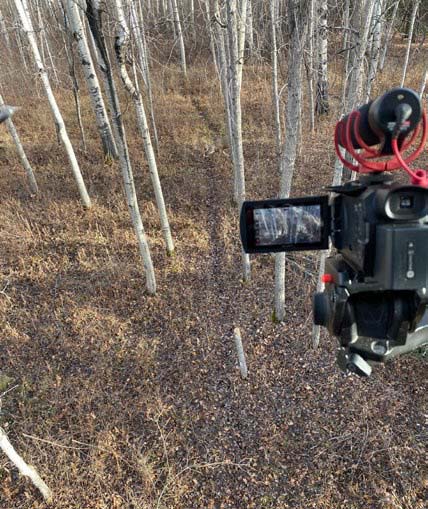
As far as camera management goes, many of today’s video cameras have an image stabilizer but this only helps a bit. Whenever possible use a tripod or tree arm. A monopod may be a good option when you are mobile, but a quality tripod with a fluid video head provides a stable platform with the ability to gently pan moving subjects. If handheld is your only option, then a shoulder mount can assist with stability. Know that with gun hunting, if the videographer is operating the camera handheld, they will often jolt or react otherwise when the gun goes off. This can be awkward for viewers to watch. A camera mount helps eliminate this natural reflex.
Editing
Finally, creating a captivating finished product can be tweaked with good editing. From simple programs like Windows Moviemaker to middle of the road programs like Premier Elements and more complex software like Adobe Premier CS5, to name a few – the sky is the limit. Significant barriers relate to cost and know-how. Adding the right music, special effects, smooth and appropriate transitions, text and titles, and again keeping each individual clip short can turn good raw footage into an outstanding finished product.
By Kevin Wilson
Per our affiliate disclosure, we may earn revenue from the products available on this page. To learn more about how we test gear, click here.


