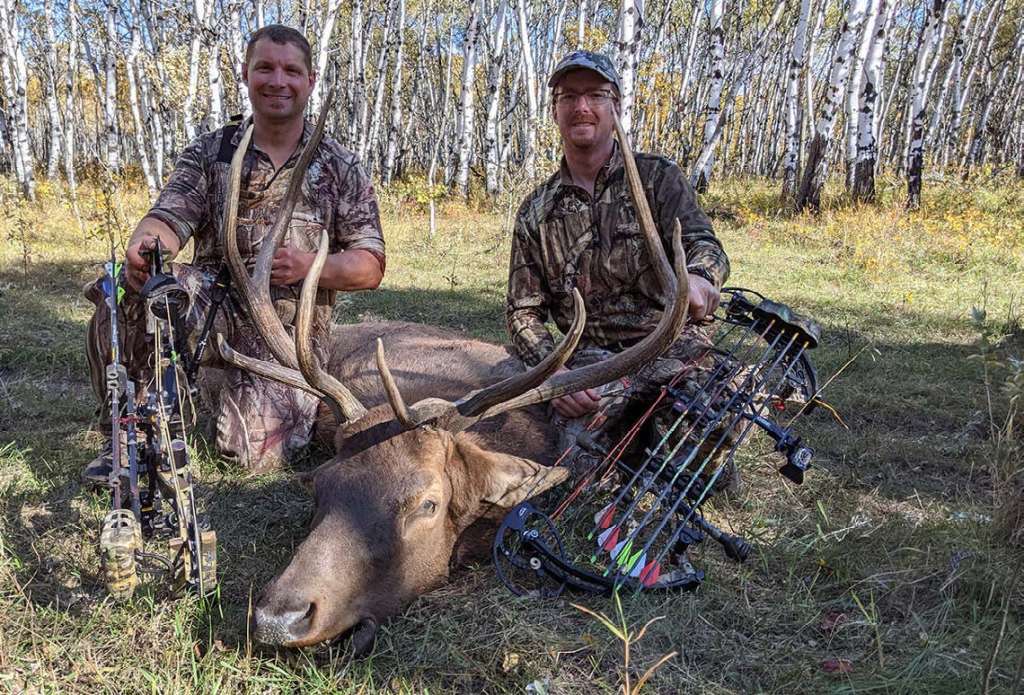
Here are some strategies to effectively track the game animal you just arrowed
We owe it to the game animals we hunt to follow up on the shots we take as best we can. There are rarely second shots with bowhunting, so making the first one count, and following up with a solid tracking routine, is important. That routine consists of collecting and analyzing clues, waiting, following the trail, and making logical decisions along the way.
Moment of Truth
The “moment of truth” is what separates the hunter from the target shooter, and it occurs the instant an arrow is launched at a living animal.
It is unfortunate that the moment of having an animal in range, shooting it, and watching it disappear isn’t longer of a time because there’s much to do during this critical period. You need to watch your arrow’s impact, listen, observe animal behavior, and mark key locations.
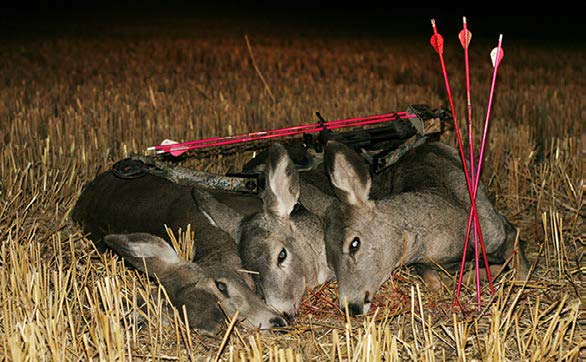
Assess the Shot
After shooting, watching the arrow fly to see the point of impact is key to knowing if your shot was lethal or not. Then, there are many questions. Was it on target? How deep did the arrow penetrate? How did the animal react? If the animal ran off, could you still see the arrow in it? Which way did it go, and where was it standing when you shot at it? What did you hear? All these questions need answers.
As far as hitting the mark goes, the best shot to end an animal’s life quickly is to hit the lungs
(the largest organ) or the heart. Liver shots, although lethal, aren’t as quick to kill. Replay the shot in your mind to visualize where the arrow struck and what organs (if any) were likely penetrated.
Next, recall the impact sound of the arrow hitting the animal. A soft, echoing thump would resonate if the arrow entered through the rib cage. A loud smack would be heard if you hit bone (similar to that of your arrow embedding in a tree). And, if you hit too far back in the paunch (guts), a hollow pop, teamed with a whooshing sound, is what will be heard.
Knowing arrow penetration depth is also key. On small animals, such as deer, sheep, and antelope, penetrating half your arrow length will be sufficient. On larger, mature animals, you’ll want the arrow buried up to the fletchings. Pass-through shots are nerve-racking because the visual confirmation of an arrow in an animal doesn’t exist, so doubt tends to creep into the hunter’s mind. Fortunately, analysis discussed later deals with this uncertainty.
Reactions Differ
Animal reaction is different from shot to shot, animal to animal, and species to species.
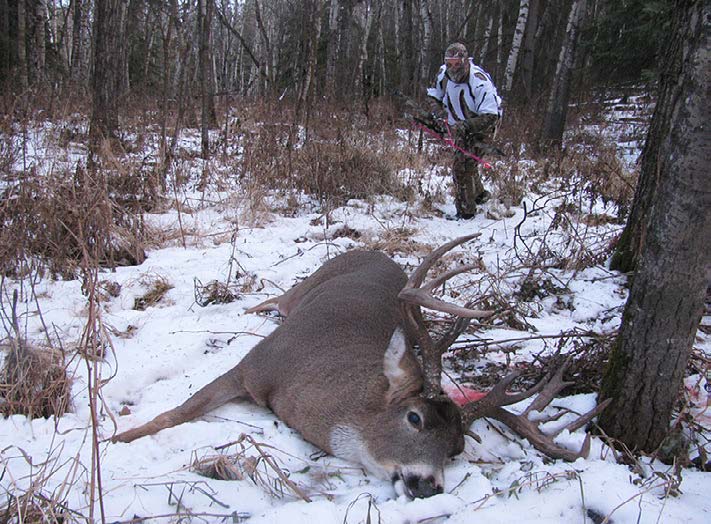
Whitetail and mule deer tend to be the jumpiest of all, while other types of deer rarely flinch until the arrow hits them. I’ve watched animals do many things when hit: simply look up; run as fast as they can; trot a few steps and go back to feeding; or even do nothing at all. It all depends on what and how much tissue your arrow cuts. In most cases, running is the result of the shot. A good sign of a lethal hit is when the animal sprints a short distance but then slows down to a trot or walk soon afterward. For Whitetail deer, a general rule of thumb is this: tail up, non-lethal; tail down, lethal.
Check Locations, Listen
You’ll also need to note the following locations: the spot where you took the shot, the area where the animal was situated, and then the site where it fled to, specifically. You’ll need these locations to investigate your shot. After your heart stops beating through your chest, record the exact time of the shot. You’ll now have plenty of time to replay the shot in your mind as you regain your composure.
Listening is very important, too, because many times, you’ll lose sight of the animal quickly as it attempts to flee danger. Listen for the sounds of the animal’s direction and its speed of travel; for branches breaking; or for the animal moaning or walking. Quite often, animals sprint short distances (less than 100 meters) then slow down or stop. Sometimes they may be out of sight. Keep listening, though. A big crash followed by repetitive sounds (as the animal kicks a few last times) is an encouraging sound.
Silence is also welcome after a thunderous crash. What you don’t want to hear are hit animals maintaining or increasing speed and getting further away. Healthy animals will plow through any debris to escape danger, while wounded ones avoid obstructions with great care. Don’t forget to keep watching while you listen. I once shot a moose and it promptly dashed out of sight. Silence set in for the next five minutes. Surprisingly, I saw it meandering slowly away from me before it vanished into the bush for a second time. I remained positioned and kept listening intently, hearing a crash a few minutes later as the moose tipped over. As expected, I followed the blood trail and found a puddle of blood where the bull stood after his initial sprint. Seeing him the second time, it was obvious by his demeanor that he was hurt.
All these clues must be analyzed as a whole, rather than individually. The pattern that resulted for the first bull moose I ever shot happened as follows: my arrow hit low, with poor penetration (only 20 centimeters). The moose just stood there, stunned. Soon after, it started walking slowly into the trees, but I could see the arrow twitching rhythmically, indicating a heart shot. I waited patiently and heard trees breaking, followed by a few seconds of heavy breathing. Fifteen minutes is plenty of time to wait before taking up the blood trail on lethal shots, but depending on your analysis of the clues, you may want to wait longer. I prefer investigating the area of impact as soon as possible to gather more information quickly. In the case of my first moose, I knew the bull was dead, so I waited only a couple of minutes before taking up the trail.
Finding the Arrow
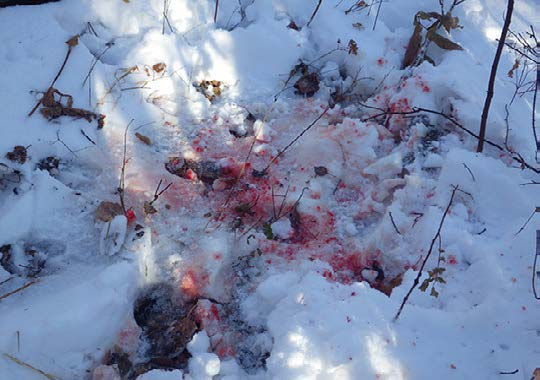
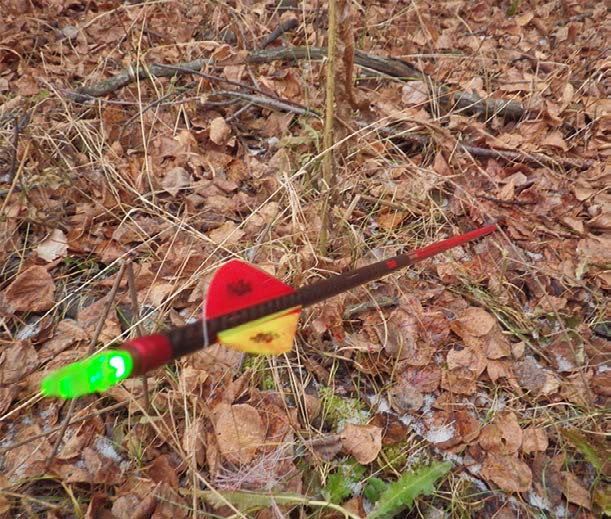
The next step is to find your arrow. It’s likely either buried in the animal or found on the ground (or a mixture of both, if it broke in two). Look for depressed tracks where the animal took off when you shot it, remembering what shot angle was used. Look for your arrow by first checking around or just beyond this location. With a pass-through, the arrow should be stuck in the ground, entirely coated with blood or other internal animal matter.
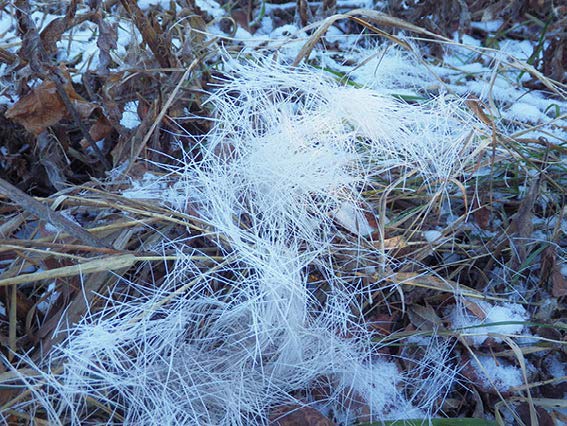
Additionally, look for hair and blood drops, hopefully finding short cut hairs with blood on the tips. If you can’t find your arrow at the area of impact, follow the tracks or blood carefully to where you lost sight of the animal. Look for the arrow with each step, while being careful not to step on the blood or tracks.
Check Carefully
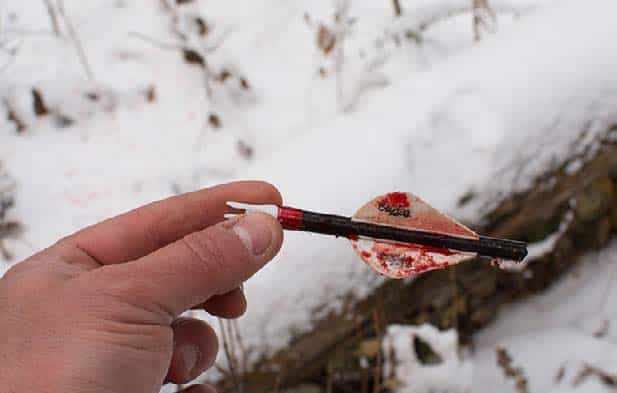
Upon finding your arrow or parts of it, inspect it. Is it intact? How much is covered in blood? What color is the blood? A light red (possibly smattered with small bubbles) means a lung hit. A deep red indicates the liver as the point of impact. Are there stomach contents on the arrow or does it have a foul smell? This signifies a gut shot. Do the answers you find confirm the shot details and the animal reaction you remember?
Up until this point, you’ve simply been gathering information in the same proximity where you made the shot and saw the animal flee. But now, it’s time to make a decision: do you wait, or do you take up the trail?
Every situation is different. You’ll have to choose based upon the information you have at hand and have collected. If you’re in doubt, back out and wait or get help (if feasible). If bad weather is on the horizon, you may have no choice but to proceed so that you have the best chance at tracking blood drops before they vanish. Lethal shots should kill an animal in a few minutes, but some animals need more time to expire. Anything from 5 to 60 minutes will suffice for good shots. If your information points to a less-than-ideal shot, waiting up to four hours is usually a good idea, and for paunch shots, a range of 12 to 24 hours is best, depending on the size of the animal. (The assumption here is that the bigger, more mature animals are tougher and will take longer to expire).
Tracking Your Target
In general, tracking should be done slowly and quietly with another arrow nocked. As you follow the tracks, listen for labored breathing or struggling movements. If you hear these sounds, stop and wait longer until the sounds cease. This situation can be agonizing, but you don’t want to risk jumping the animal and having it run further on a surge of adrenaline.
Keep looking forward, as you would with still hunting, and look for bedded animals, ear twitching, or any signs of movement. Freeze if you see any motion and wait, proceeding only if the movements stop or if you need to get into a better position for a second shot.
Analyze the Blood
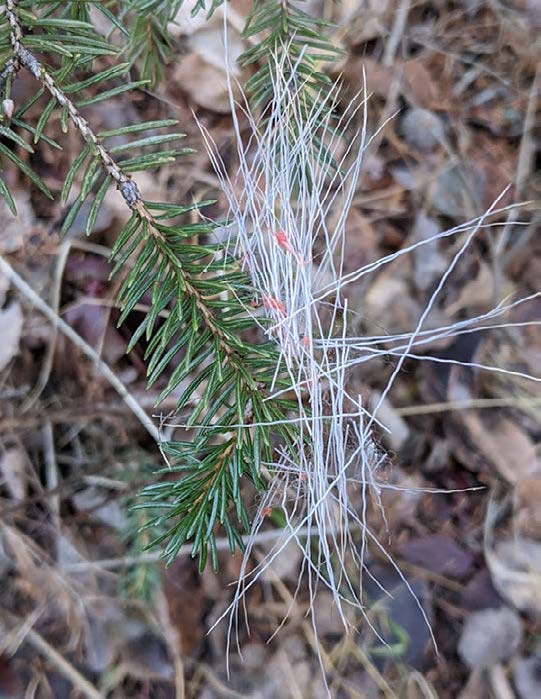
Continually analyze the blood trail as you move along. Blood droppings can show direction of travel, which is very important if the animal beds and circles back. How much blood is on the ground? A small two-year-old deer weighing approximately 70 kilograms (154 pounds) will have around five liters of blood but would expire long before losing all of it. Is the blood trail a spray, denoting that the animal is exhaling blood? Is the amount of blood diminishing or increasing?
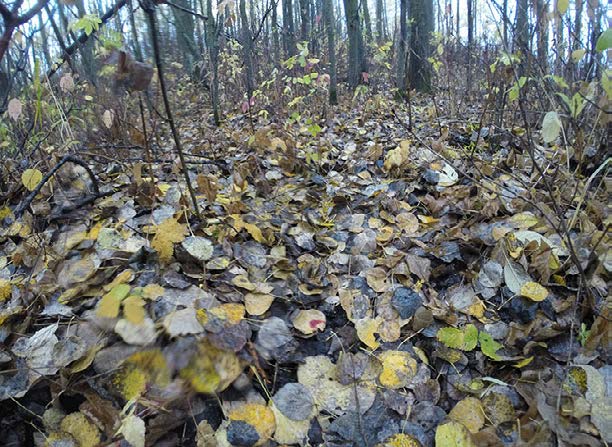
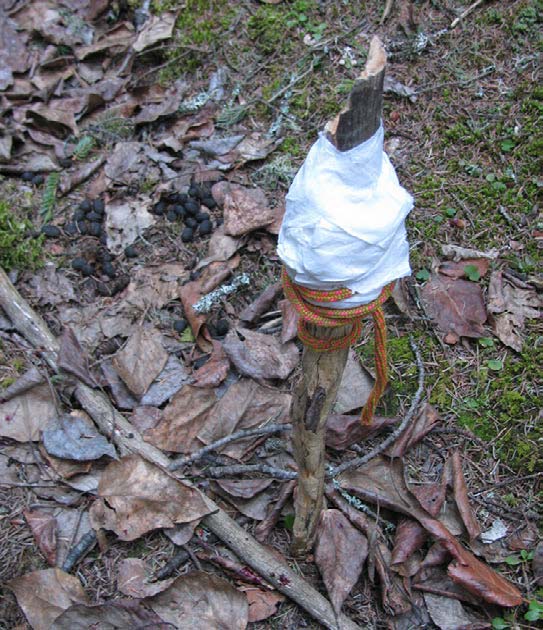
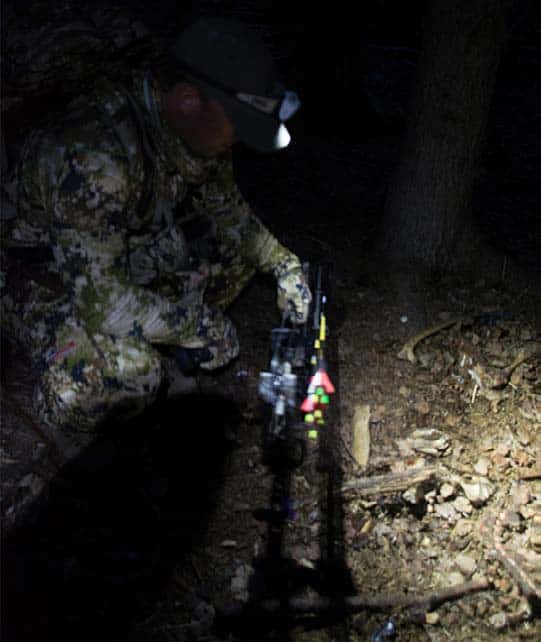
Only one drop of blood is required to prove the animal was there and you’re on the right track. Don’t be afraid to crawl and use flashlights or blood lights (available at Cabela’s) to find the next blood drop. Many times, this is required. The blood trail sometimes stops and starts again, so mark the last blood drop you found to make it easy to spot again. When you find the next drop, move the marker along. Sometimes, you’ll go several meters without any blood, possibly meaning you’ve gone the wrong way. Return to the last blood marker and use the process of elimination, investigating each possible path until you have discovered more evidence, such as blood, tracks, upturned leaves, or freshly broken twigs or branches.
You may encounter bloody beds signifying the animal laid down to recover, and it could have done that but keep going anyway. I once found 7 beds within 50 meters and eventually I came to a dead elk. They don’t want to move far when they’re sick or wounded. Beds can have more clues about timelines, especially if you’ve waited several hours before taking up the trail. Finding a fresh bed might mean you jumped the animal out of the bed. In this case, you should stop and back out for hours; I’d suggest at least four.
Using GPS
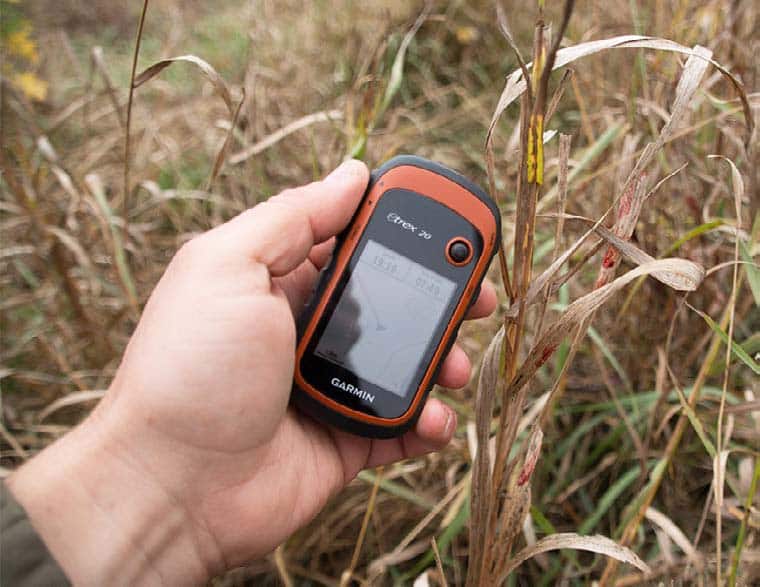
Keep note of the general direction of travel when tracking, using a handheld Garmin GPS or your smartphone. If you know the area well, you may be able to predict where the animal is headed. Is it headed back where it came from, to a familiar bedding area or water? This information could be vital if the blood trail stops but if you still believe a lethal shot was made.
When this situation occurs, I first follow all the paths of least resistance (most likely a game trail) from the last known blood drop. Many times, animals go on a death march where they travel slowly, not feeling well, until they simply collapse. Sick animals generally do not have energy to exert so they follow familiar game trails, perhaps into some thick cover.
Finally, I’ll walk back and forth, expanding out in a cone-like pattern in the general direction of travel from the last blood, in hopes of finding more evidence to follow or finding the animal itself. If that fails, expanding in larger and larger circles from the last blood has also proven to be effective in continuing to track.
Accepting Defeat
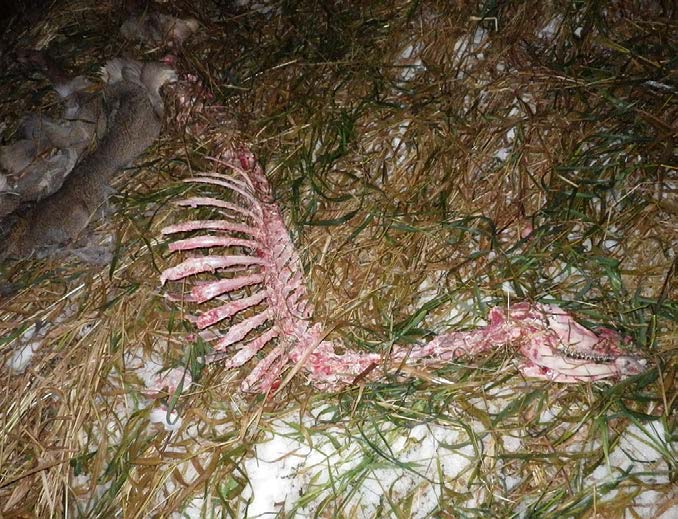
Sometimes, you don’t recover the animal. You put forth the effort, but you couldn’t find it, or perhaps you found it but only after the scavengers devoured it.
How much time or how far should you travel before accepting defeat? How far is far enough? At a minimum, searching for at least 24 hours after you made a shot seems fair. At that point, depending on temperature, the meat is starting to spoil and you’re really just seeking closure.
Personally, I’ve crawled for almost a kilometer over two different days tracking a black bear that I never did recover. On the other hand, I once gut-shot an elk and backed out for 24 hours before tracking him a mere 600 meters through several beds. I’ve been involved in recovering double-lung shot animals that traveled nearly 300 meters, some with blood drops along the trail and some without. The point is that each situation is different, and the more information you know, the better your chances are of a successful recovery.
Following up on every shot is necessary. Gathering the most information possible helps you make the best decision on how to proceed. Adding to that information as you track the animal helps you arrive at a happy place: either taking pictures with your quarry or knowing you did your very best to retrieve the animal.
Per our affiliate disclosure, we may earn revenue from the products available on this page. To learn more about how we test gear, click here.


